

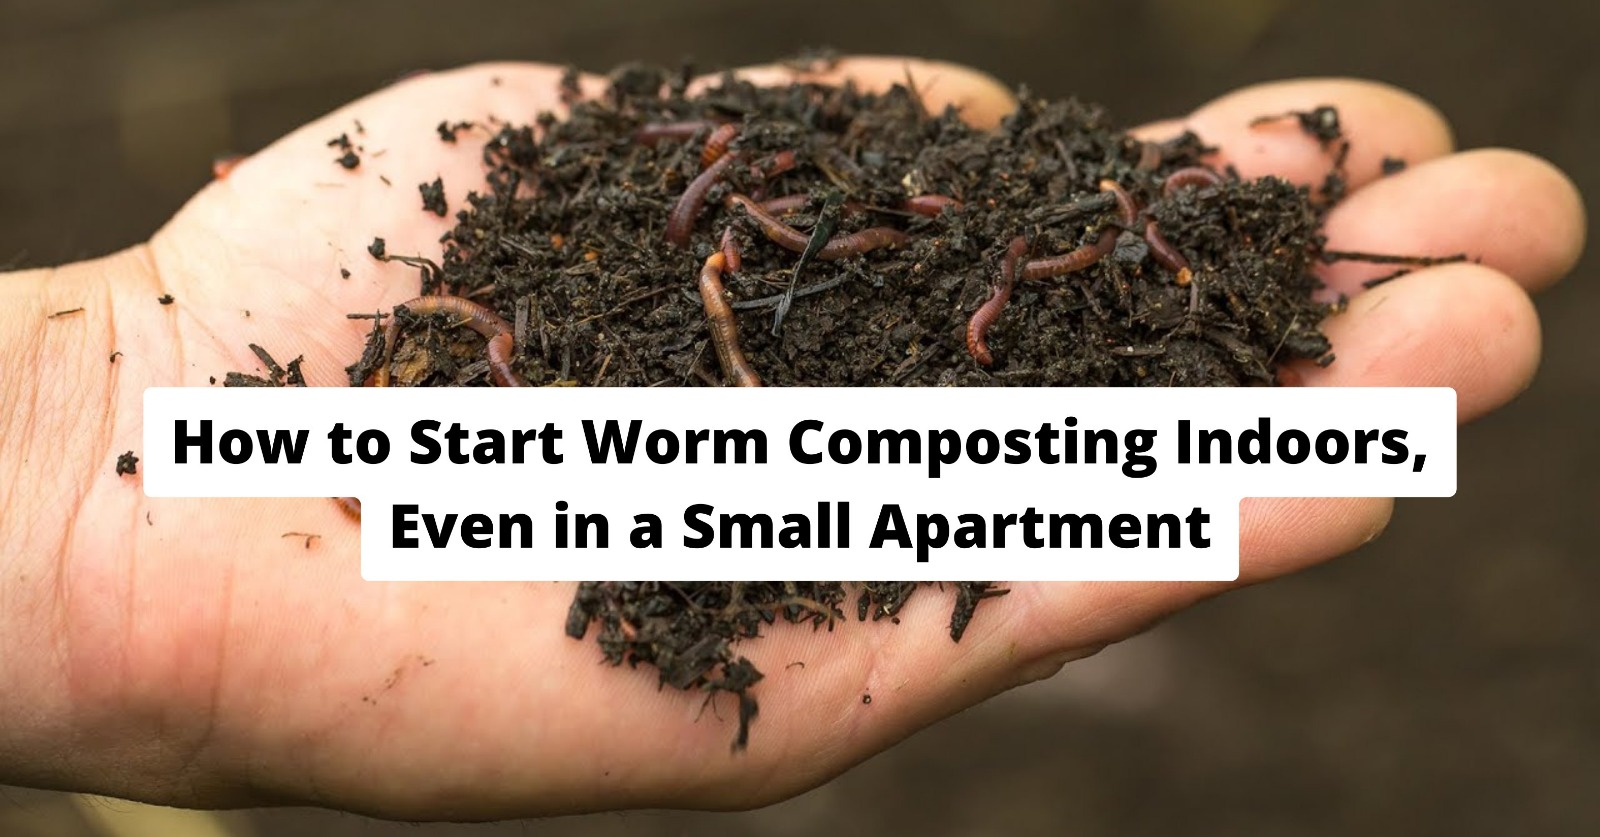
Using worms to compost, which is called vermicomposting, is the best way to change your kitchen waste into fantastic stuff for your soil. It’s good for a tiny studio flat, a garage in the suburbs, or a classroom at school. If you look after it properly, a worm bin won’t smell, needs under five minutes of your time each week, and will give you a constant flow of worm castings. These castings are a substance full of goodness and garden experts say it’s one of the best natural feeds for plants. Normal compost heaps outside need lots of room, regular mixing and ages to become useful, but a worm bin breaks down food all the time and you can get the castings out every couple of months.
Setting Up the Bin
You can use almost any plastic storage box with a lid, as long as you can’t see inside, to create a typical worm composting system. A size of about 18 inches long, 12 inches wide and 8 inches deep is good for the kitchen scraps of one or two people. Worms and the helpful germs that live with them need air, so you’ll need to make around twenty to thirty holes (using a drill bit that is one eighth of an inch across) in the sides and lid. Also, put holes in the bottom of the box and put a tray under to collect the liquid that comes out (this is called leachate); this stops the worms from being in water and stops bad smells. You fill the box about three-quarters of the way up with wet bedding. Shredded paper, cardboard, or damp coco coir (squeeze it out so it’s like a sponge) are good for bedding, and this gives the worms a place to live and the carbon they require to balance the nitrogen in the food.
Choosing and Adding the Worms
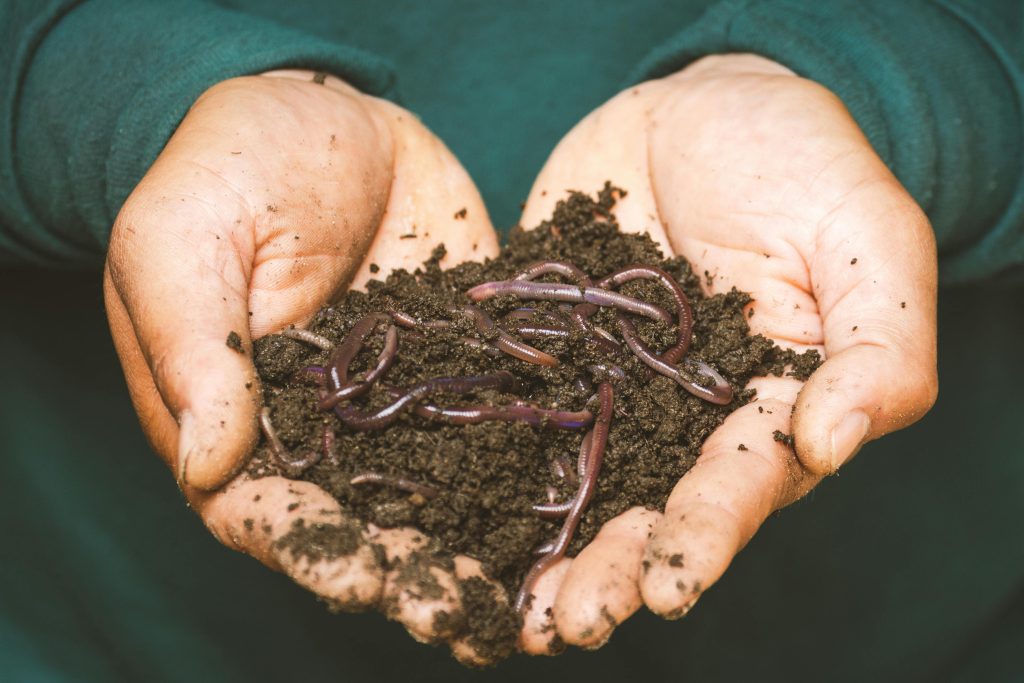
The red wiggler worm, scientifically known as Eisenia fetida, is what you use for vermicomposting. Don’t confuse them with regular earthworms you’d dig up in your garden. Red wigglers really love rotting organic stuff, breed fast in smaller areas, and eat about half their own weight in food scraps daily. For a typical bin at home, 500 to 1,000 worms, or about a pound, is a good amount to start with. You can find worms at places selling vermicomposting supplies, bait shops, or even local gardening clubs which raise their own. Once you’ve put the worms into their new bedding, leave them alone for a couple of days, maybe three, before giving them food – this gives them a chance to get used to their surroundings.
Feeding and Maintaining the Bin
Worms will happily eat almost any leftovers from your fruits and veggies, coffee grounds, tea bags (just take the staples out), and broken up eggshells, and a little bit of bread or cereal. You shouldn’t put in much citrus, onion or garlic, though, as their sharpness and powerful ingredients can bother worms in their container. Meat, milk products, and greasy food aren’t for them at all. Each time you feed the worms, you should put the food in a different place in the bedding, this way the rotting is spread around and one spot doesn’t get too soggy or too acidic. Keeping a dry layer of bedding on top stops fruit flies and stops smells from escaping. The bin should be damp, but not full of water. If water is collecting at the bottom, just add more dry bedding to soak it up.
Harvesting Worm Castings
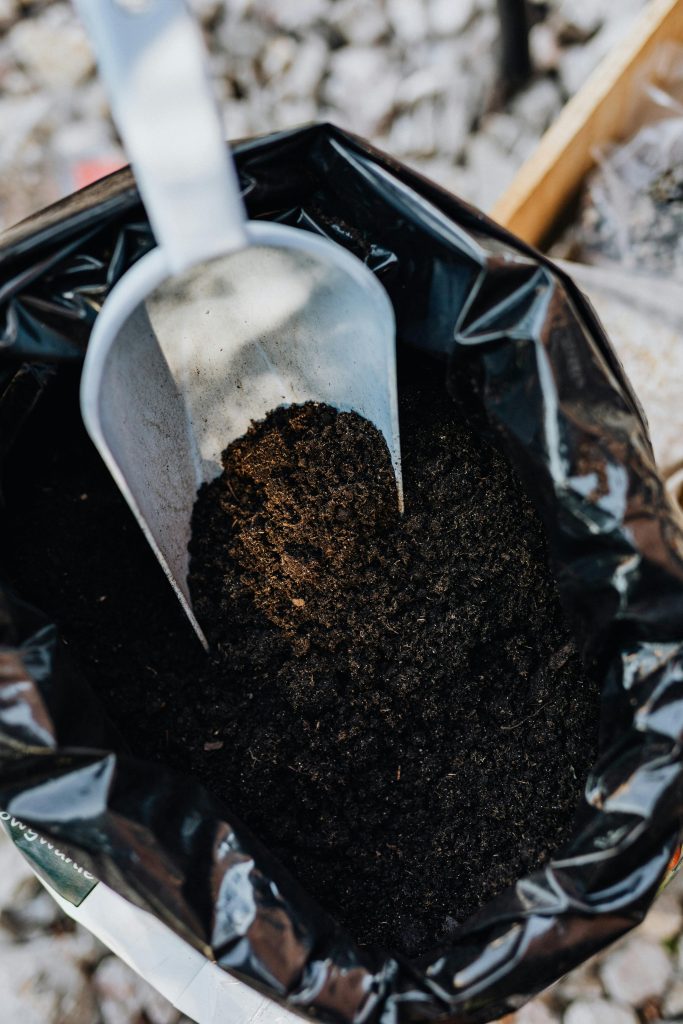
In a couple of months, or maybe three, much of the bedding will have turned into a dark, grainy substance, which is the final form of the worm’s digestion. To collect this, just move everything in the bin to one side. Then add new, damp bedding and food to the now empty space and leave it for another two or three weeks; the worms will move over to the new food. After that, you can easily scoop out the castings from the side they’ve left, and use them in your garden right away. You can put them into potting soil (using 10 to 20 percent castings to soil by volume), turn them into a liquid plant food, or sprinkle them around plants for a slow feed.
Key Takeaway
In a couple of months, or maybe three, much of the bedding will have turned into a dark, grainy substance, which is the final form of the worm’s digestion. To collect this, just move everything in the bin to one side. Then add new, damp bedding and food to the now empty space and leave it for another two or three weeks; the worms will move over to the new food. After that, you can easily scoop out the castings from the side they’ve left, and use them in your garden right away. You can put them into potting soil (using 10 to 20 percent castings to soil by volume), turn them into a liquid plant food, or sprinkle them around plants for a slow feed.
Leave a Reply