
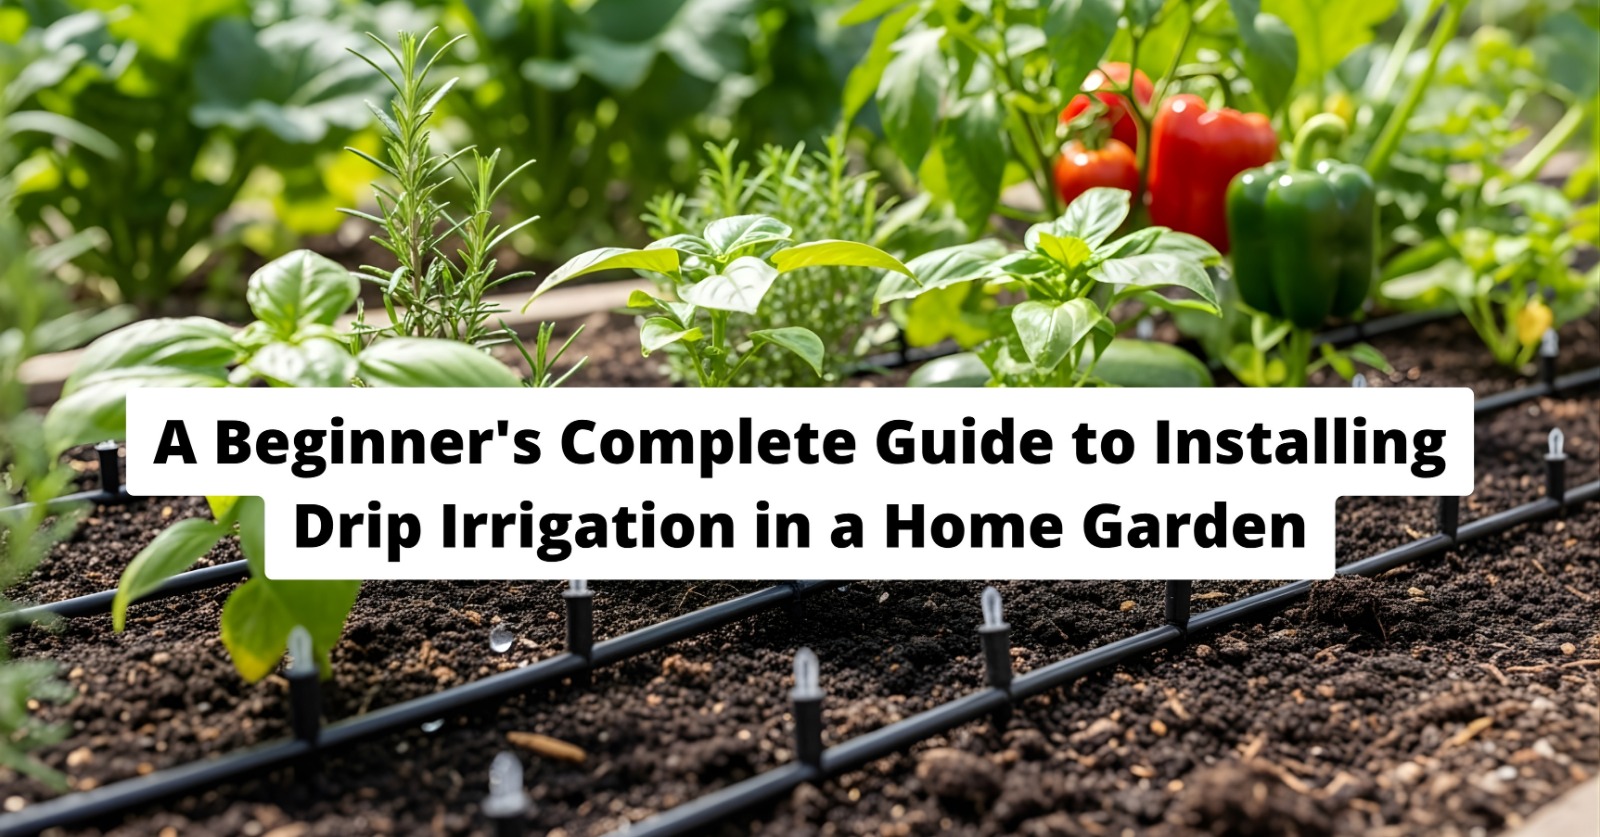
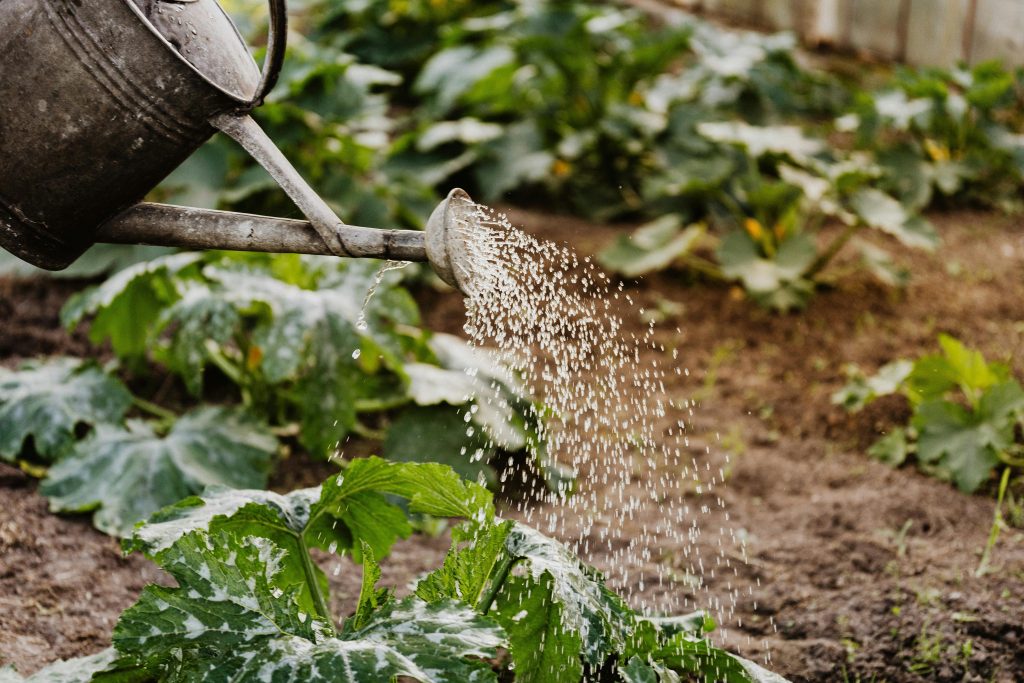
If you’re growing vegetables at home, changing to drip irrigation is probably the best thing you could do for your garden. It uses a system of tubes and little nozzles that apply water at a low pressure, getting it right to the roots of each plant. This uses 30 to 50 percent less water than sprinklers, and your plants will be stronger and get sick less. When you water from above (with sprinklers) the leaves get wet, and that causes things like powdery mildew, blight, or leaf spot (all fungal diseases) to happen. Drip irrigation makes sure the leaves stay dry, and the soil around the roots gets a good soaking, so the roots can actually get to the water.
The Basic Components of a Drip System
To set up a drip system for a garden at your house, you need five main parts. First, you’ll link it to your water supply, generally a tap for your garden hose. You’ll also need a pressure regulator; this brings the water pressure down to somewhere between 15 and 25 PSI, which is what drip systems use. A filter is important too, because it keeps the little holes in the system from getting blocked. Then you’ll use half-inch polyethylene mainline tubing, and finally, you’ll have the emitters or drip tape to actually get water to each plant. Luckily, you can find all of these at most garden centres and hardware stores, and a full set for a fairly standard 4 by 8 foot raised bed will likely cost between $30 and $50.
Choosing Between Drip Emitters and Drip Tape
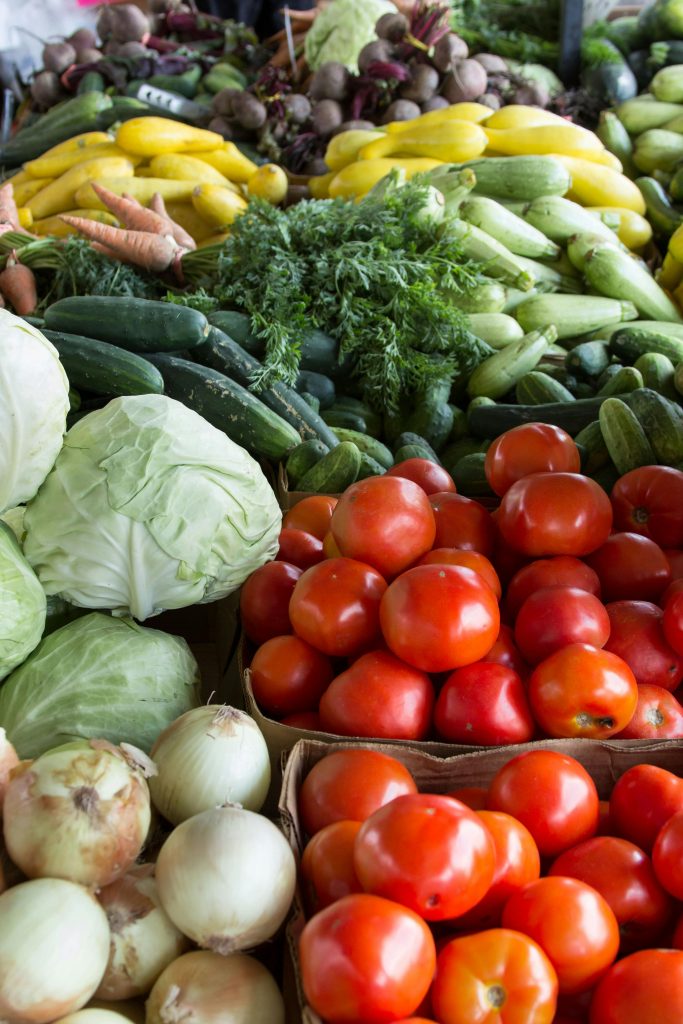
Drip emitters are little things you push into holes in your main water line. Each one puts out a set amount of water, most of the time half a gallon or a gallon an hour, and waters one particular plant. Because of this, they are perfect for plants that are fairly far apart from each other, such as tomatoes, peppers, squash and shrubs, as each one gets its own water source. Drip tape, sometimes referred to as soaker tape, is a flat, easily bendable tube that already has water emitters along it at set distances, typically six, nine or twelve inches. For crops planted close together, like lettuce, carrots, and radishes, drip tape is a better choice because it’s much easier to get the whole row or bed evenly watered rather than using a drip emitter for each single plant.
Layout and Installation Steps
Setting up a simple drip irrigation system is pretty straightforward. You begin by attaching the pressure regulator and filter to your outdoor tap. Then, take the main tubing from the water source all the way to your garden, holding it in place with landscaping staples. If you have raised beds, put the main tubing along the long side of each one, and then add smaller branch lines or drip tape going across the width. How far apart these lines should be depends on what you’re growing; for leafy greens, 12 inches will do, but larger plants need 18 to 24 inches between lines. Before you finish the lines, run water through all the open ends of the tubing to get rid of any dirt or bits that could block the water coming out. Lastly, seal the ends of each line by capping them or folding and clamping, and once the water is on, make sure the water is flowing out of all the little outlets at the same rate.
How Long to Run Drip Irrigation
People who are just beginning with drip irrigation almost always want to know how long to have the system going and how many times a week to use it. What you’ll do depends on your soil, where you live, and what you are growing. But for most gardens, a good place to start is 20 to 30 minutes each time, two or three times a week while plants are actually growing. Sandy soil lets water go through it quickly, so it will likely need water more often, in shorter bursts. Clay soil holds water for a lot longer, and does well with water less often, but for a longer period. You’re aiming to get about an inch of water to the roots each week, and that’s roughly how much water most vegetable gardens use while they’re growing. You can easily tell if you need to change your watering schedule by sticking your finger two or three inches into the soil to check for dampness.
Maintenance: Keeping the System Running Smoothly
Drip irrigation doesn’t need a lot of upkeep, but it’s a good idea to look at it now and then. When the growing season starts, get rid of any dirt that’s built up in the pipes by taking off the end bits and letting the water run for a couple of minutes. To make sure the little outlets aren’t blocked, while the system is on, look for a drip from each one. If an outlet is blocked, you can unblock it by letting it sit in vinegar. Also, look at the plastic tubes for splits, bends, or places where rodents have been chewing and swap out any broken pieces. And if you live somewhere that gets freezing temperatures, at the end of the season, get all the water out of the system and bring anything above ground inside to stop it from breaking in the cold.
Key Takeaway
You’ll lose thirty to fifty percent less water with drip irrigation, it won’t wet the leaves (so plants are less likely to get sick), and the water goes straight to the roots, which is where they really use it. A simple setup for a raised garden bed is thirty to fifty dollars and doesn’t need any unusual equipment, and you can put it together in less than an hour. Watering for twenty to thirty minutes, two or three times a week is a good start, and you can change that depending on what kind of soil you have and the weather. To keep it working well for many years, rinse it out and make sure all the little outlets aren’t blocked each year.
Leave a Reply