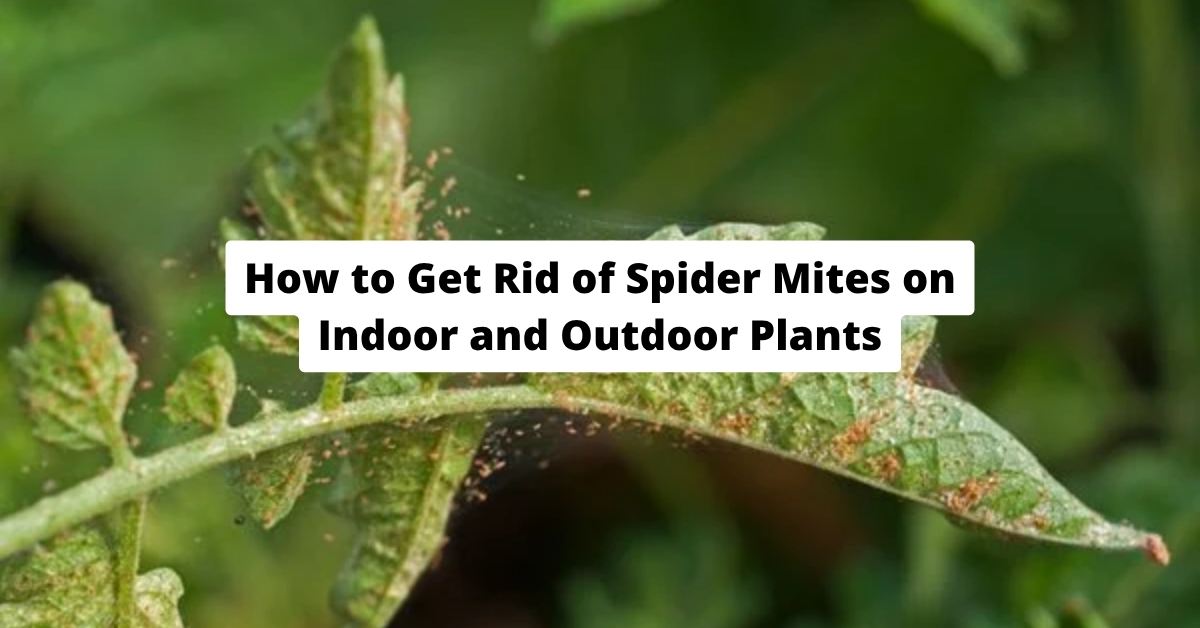
How to Get Rid of Spider Mites on Indoor and Outdoor Plants
Spider mites are a very serious problem for people gardening at home, and they’re surprisingly tricky to find. Even though we usually think of them along with bugs, they are actually arachnids, and they’re incredibly small, less than a millimeter long. Most of the time, by the time gardeners spot the very fine webbing on the undersides of leaves, and the speckled, yellowing of the leaves themselves, the mites have been steadily increasing in number for weeks. One female spider mite can have millions of babies in a single growing season when it’s warm, and that’s why finding them early and dealing with them quickly is so important for plants that are being harmed.
Agricultural experts say spider mite numbers grow fastest when it’s hot and dry, which is exactly what happens in heated houses in the winter, and in gardens during a hot, long drought in midsummer. Knowing that the weather causes this growth is the first thing to do to either get rid of them or stop them from becoming a problem in the first place.
How to Confirm a Spider Mite Infestation
When spider mites start eating a plant, the first thing you’ll probably notice is a lot of very fine speckling on the tops of the leaves. These are incredibly small yellow or bronze dots, each one marking a plant cell the mite has broken into to get its food. At first people often think this is the plant not getting enough food or being scorched by the sun. To be sure, you can hold a white sheet of paper under a leaf you suspect is infested and give the leaf a firm tap. If mites are there, they’ll fall onto the paper and look like very small things wiggling around; you’ll have to look carefully to see them. If you see delicate, silky webbing between the lines of a leaf or where the leaf joins the stem, then a colony of spider mites is definitely living on the plant. By the time you can see the webbing, there are a lot of mites, and you’ll need to do a lot to get rid of them.

Step 1: Isolate and Spray Down Affected Plants
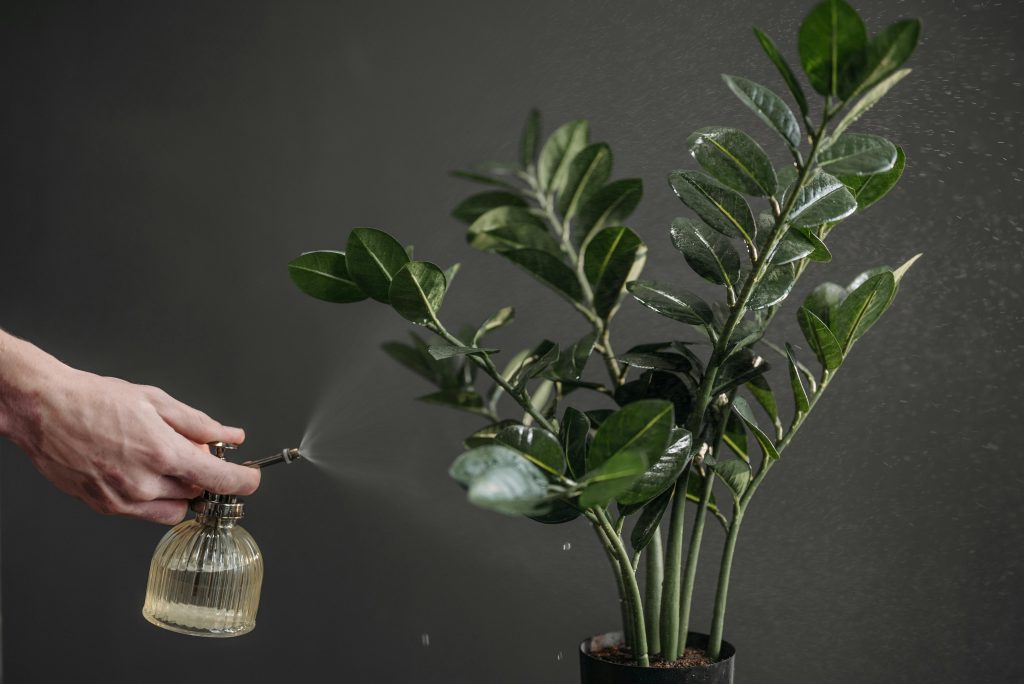
When dealing with houseplants that have pests, get the affected plant away from your others right away; this stops the tiny creatures getting around by being blown on the breeze or by touching. Then, spray it completely with water at normal room temperature. Pay special attention to the undersides of all the leaves, because the pests like to hang out there. This will get rid of a lot of them. For plants in the garden, a strong spray from the hose, aimed at the undersides of the leaves, does the same thing. Often just the water will lower the number of pests by fifty, sixty, or even seventy percent and you should do this again every three or four days for a fortnight.
Step 2: Apply Insecticidal Soap or Neem Oil
Once you’ve washed the plants with a strong spray, you can get after the mites that are left using insecticidal soap or neem oil from the garden center; both will do a better job of finishing them off. Insecticidal soap only kills if it actually touches the mites, and it does so by breaking apart the walls of their cells, which dries them out and kills them pretty quickly. Neem oil both kills on contact and also throws off the development of any mites that happen to live through the first application, so they can’t breed as usual. When you use either of these, cover all parts of the leaves, especially the bottoms, the stems and where the leaves attach to the stems. You’ll need to repeat the application every five to seven days for at least three times in a row, as both the soap and the neem oil won’t affect the eggs and so more mites will appear between treatments.
Step 3: Increase Humidity to Discourage Reinfestation
Spider mites really like it when it’s dry, but they have a hard time when there’s lots of moisture. With houseplants, if you make the air around the plant more humid, a dish of pebbles with water, a humidifier nearby, or simply putting several plants close to one another will slow down how quickly the mites make more mites, even if you don’t get rid of every last one. Gardeners outside can lower the number of spider mites by watering regularly, keeping the garden a little more humid than the hot, dusty settings they’re keen on. Though usually we don’t recommend it as it can cause fungal problems, spraying water over the leaves can actually be helpful during a spider mite attack; the water on the leaves isn’t something the mite communities do well with.
Prevention: Keeping Mites From Returning
It’s a lot simpler to stop spider mites from becoming a problem in the first place than to get rid of them once they’ve settled in. Checking the undersides of leaves often, and especially when it’s hot and dry or during the winter while your indoor heating is on, will help you find them early at the time they’re easiest to manage. Plants do better if they get enough water and aren’t in a place that’s too dry, because these conditions are what spider mites like. In gardens outside, you can help other mites that eat spider mites, plus other helpful insects, by not using pesticides that kill everything – this lets these biological controls keep the spider mite numbers down by themselves.
Key Takeaway
Spider mites are really small and breed very quickly, and they love it when it’s hot and dry. To get rid of them best, you should blast them with a strong spray of water (do this every three or four days), apply insecticidal soap or neem oil (for three rounds, with an application every five to seven days) and make the air around the plants that have them a bit more humid. If you check your leaves fairly often and make sure your plants get enough water, you’ll likely stop spider mites from becoming a problem in the first place. Also, in gardens outside, helping creatures that naturally eat spider mites will give you lasting control of them, meaning you won’t have to keep treating the plants.