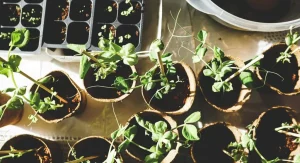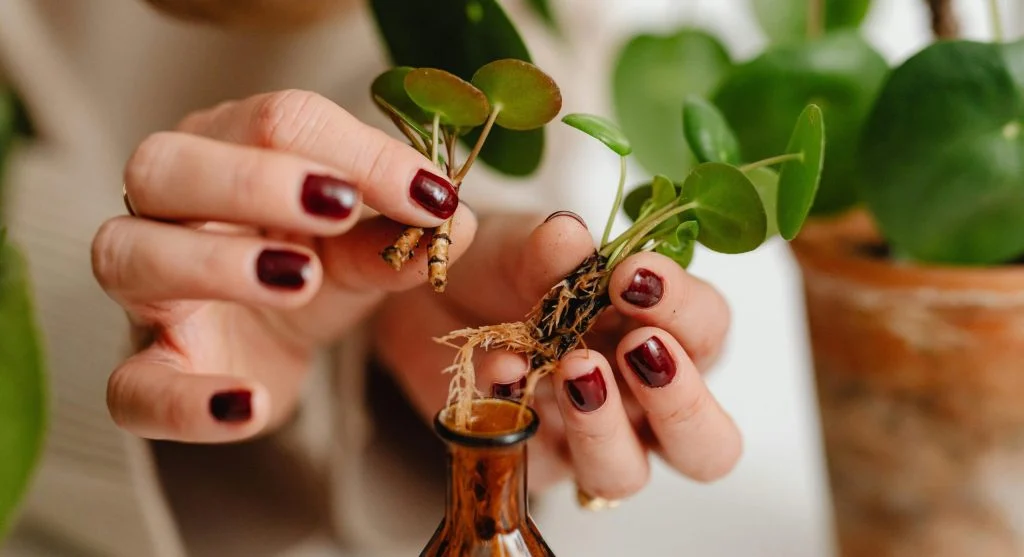
Many desirable woody plants, including fiddle leaf figs, rubber plants, magnolias, Japanese maples, citrus trees, and camellias, root poorly or not at all from standard stem cuttings. Their mature woody tissue does not have the same cellular flexibility as young, herbaceous growth, so it often fails to produce adventitious roots when placed in water or rooting medium. For these difficult-to-root species, air layering is the propagation method that often succeeds where cuttings fail. This technique encourages a stem to form roots while it is still attached to the parent plant, allowing the developing roots to receive a steady supply of water and nutrients throughout the rooting process. Once roots have formed, the rooted section is removed and potted as an independent plant.
How Air Layering Works
Air layering uses a basic principle of plant biology. When the downward movement of sugars and growth hormones through a stem is interrupted, those compounds build up above the interruption point. That concentration of hormones can trigger root formation in that area. By making a careful wound on a stem, wrapping the wound with moist sphagnum moss, and covering the moss with plastic to hold humidity, the gardener creates the right conditions for roots to grow inside the moss ball while the stem remains attached to the parent plant.
The process usually takes four to twelve weeks, depending on the species. After roots have developed, the rooted section can be cut below the new root mass and planted in its own container.
Step-by-Step Air Layering Technique
Choose a healthy, pencil-thick stem on the parent plant at a point where the new plant will have an attractive shape, usually 12 to 24 inches from the tip. Using a sharp, clean knife, make two parallel cuts all the way around the stem, about one inch apart. Carefully remove the bark and the thin green cambium layer between the cuts, exposing the hard inner wood.
This removed ring of bark interrupts the phloem, the tissue that carries sugars downward, while leaving the xylem, the tissue that carries water upward, intact. This allows the stem above the wound to stay hydrated while sugars and hormones collect near the wounded area and encourage rooting.
Dust the exposed wood with powdered rooting hormone to help speed up root formation. Take a generous handful of pre-moistened sphagnum moss, soaked in water for 30 minutes and then squeezed to remove extra moisture, and pack it firmly around the wound. Wrap the moss ball tightly with clear plastic wrap or a sheet of polyethylene. Secure both ends with twist ties, electrical tape, or plant ties to create a sealed moisture chamber. The plastic should be clear enough to let you check root development without opening the wrap.
Monitoring and Separating
Check the moss ball every two to three weeks by looking through the clear plastic for white root tips growing into the moss. If the moss appears to be drying out and changes from dark brown to light tan, add water through a small hole in the plastic using a syringe or squeeze bottle, then reseal the opening.
Root development usually becomes visible within four to eight weeks for faster-rooting species such as fiddle leaf fig and rubber plant. Slower species, including citrus, magnolia, and camellia, may take eight to twelve weeks. When roots have filled the moss ball and are clearly visible through the plastic on several sides, the stem can be cut just below the moss ball with clean, sharp pruning shears.
Pot the rooted section immediately into a container filled with well-draining potting mix, keeping the moss ball intact around the roots. Water thoroughly and place the new plant in bright indirect light for the first four to six weeks while the root system establishes in the potting medium.