Sweet potatoes are usually linked with southern gardens and warm climates, but newer varieties and a few simple growing methods have made this nutritious, high-yield crop possible even in areas as cool as zone 4. That means gardeners in regions once considered too cold for sweet potatoes can now grow them successfully. The main adjustments are starting slips early, warming the soil before planting, and choosing short-season varieties that can mature before the first fall frost in northern climates.
Agricultural researchers consider sweet potatoes one of the most calorie-efficient crops for home gardens. A single 4-by-8-foot raised bed can produce 40 to 80 pounds of sweet potatoes, offering more food energy per square foot than almost any other garden vegetable.
Starting Slips: Growing Your Own Transplants
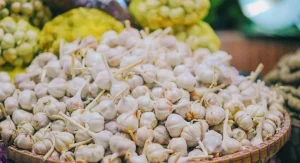
Sweet potatoes are not planted from seed or cut tuber pieces like regular potatoes. Instead, they are grown from slips, which are small rooted sprouts that form from a mature sweet potato. To grow slips at home, choose a healthy organic sweet potato, since many grocery store sweet potatoes are treated with sprout inhibitor. Suspend it halfway in a jar of water using toothpicks, with the narrow end placed in the water. Keep the jar in a warm, bright spot.
Within two to four weeks, several green shoots should appear from the top of the potato. Once those shoots reach six to eight inches long, gently twist them off the mother potato and place them in a jar of water so they can grow their own roots. The slips are ready for transplanting when the roots reach one to two inches long, usually one to two weeks after they are removed.
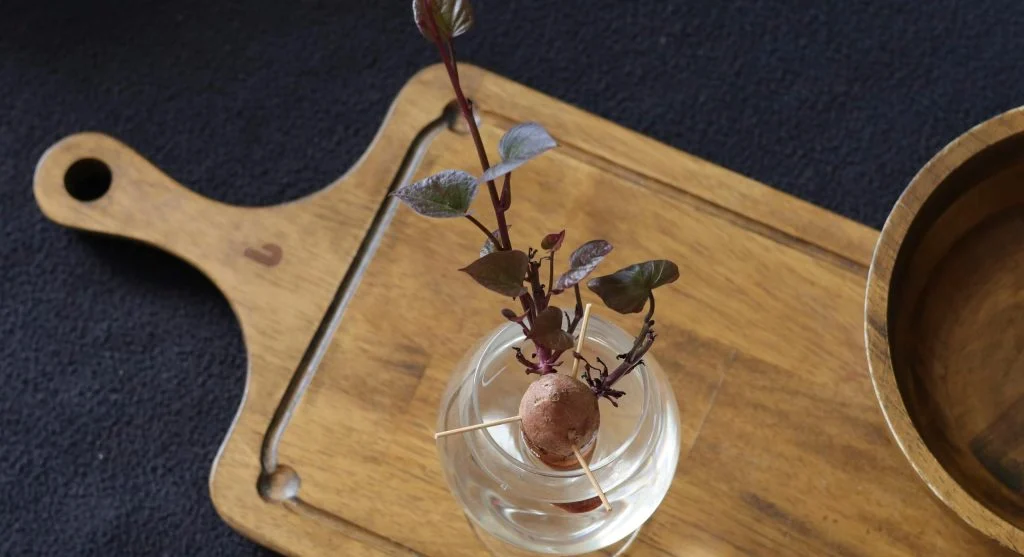
Credit: Phượng Lê / Pexels
Soil Preparation and Planting
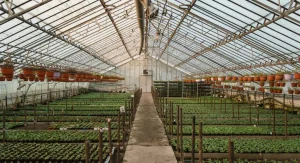
Sweet potatoes need loose, well-drained soil to develop large, evenly shaped tubers. Heavy clay or compacted soil often leads to small, twisted, or misshapen roots. Raised beds or mounded rows, about 12 to 18 inches high, create the loose, warm, well-drained conditions sweet potatoes prefer.
The soil can be improved with compost, but avoid high-nitrogen fertilizer. Too much nitrogen encourages thick vine growth while reducing tuber production. Plant slips 12 to 18 inches apart in the mound, burying each one up to the first set of leaves. Wait until all danger of frost has passed and the soil temperature has reached at least 65°F. In northern zones, covering the bed with black plastic mulch two to three weeks before planting can warm the soil much faster.
Growing Season Management
Sweet potato vines grow aggressively and can spread over 20 square feet or more per plant. Sometimes the vines root wherever they touch the soil, which pulls energy away from the main tuber area. Lifting the vines every two to three weeks helps stop this secondary rooting and keeps the plant’s energy focused on the primary root zone.
Water regularly during the first month after transplanting, then reduce watering once the plants are established. Sweet potatoes become surprisingly drought-tolerant after their root system develops. In fact, slightly limiting water during the final weeks before harvest can help produce sweeter tubers.
Harvesting and Curing
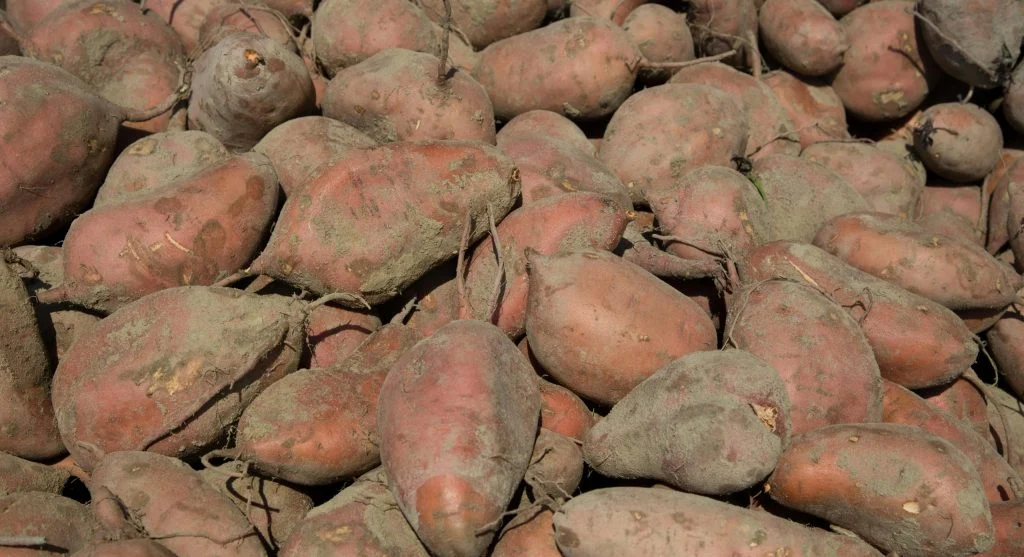
Sweet potatoes are usually ready to harvest when the leaves begin turning yellow, typically 90 to 120 days after transplanting, depending on the variety and growing conditions. In northern zones, they must be dug before the first frost because frozen soil can permanently damage the tubers.
Harvest carefully with a garden fork, starting well away from the base of the plant to avoid piercing the sweet potatoes. Once dug, sweet potatoes need curing before storage. Place them in a warm, humid environment, around 80°F to 85°F, for 10 to 14 days. Curing converts starches into sugars, greatly improving flavor. It also toughens the skin, extends storage life to six months or more, and helps heal small harvest wounds that could otherwise cause rot during storage.
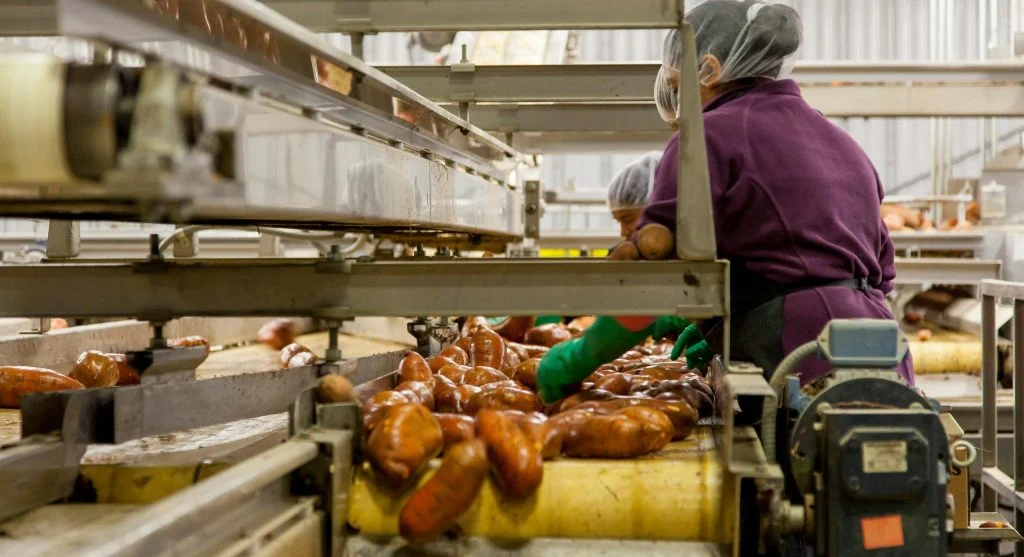
Credit: Mark Stebnicki / Pexels