Overwatering is the leading cause of houseplant death worldwide, a fact supported by surveys of indoor plant specialists and consumer gardening behavior studies. The worst part is that most of the damage happens underground, where it stays hidden until serious symptoms appear above the soil. A plant may wilt even though the soil is wet, lower leaves may yellow and drop, stems near the base may turn soft and mushy, and the potting mix may develop a sour smell. By the time many plant owners notice these warning signs, root rot has often been progressing for days or even weeks. Still, if the plant has some healthy white roots left even a small portion of the original root system it can often be saved with a careful rescue process that removes damaged tissue, reduces fungal pressure, and gives the surviving roots the right conditions to recover.
Step 1: Assess the Damage
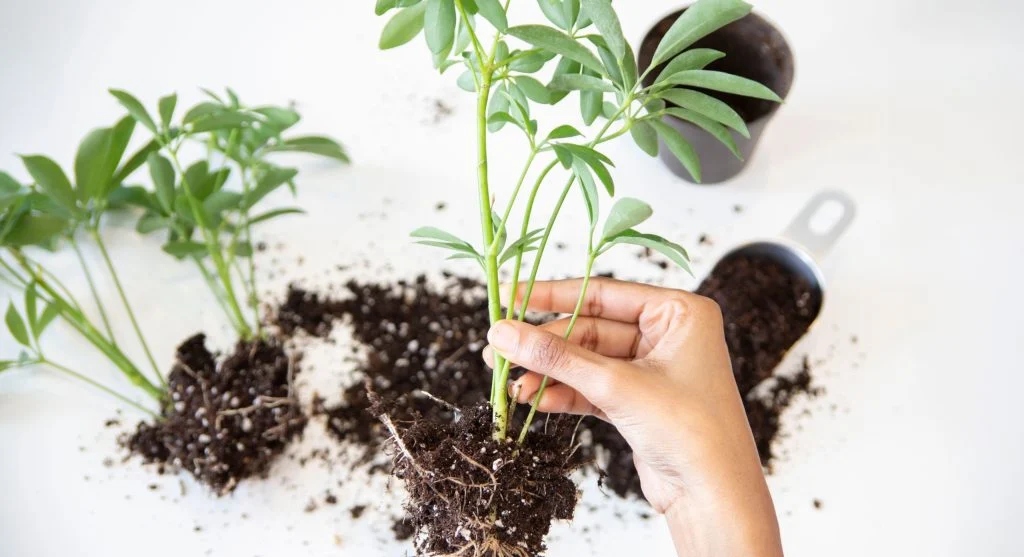
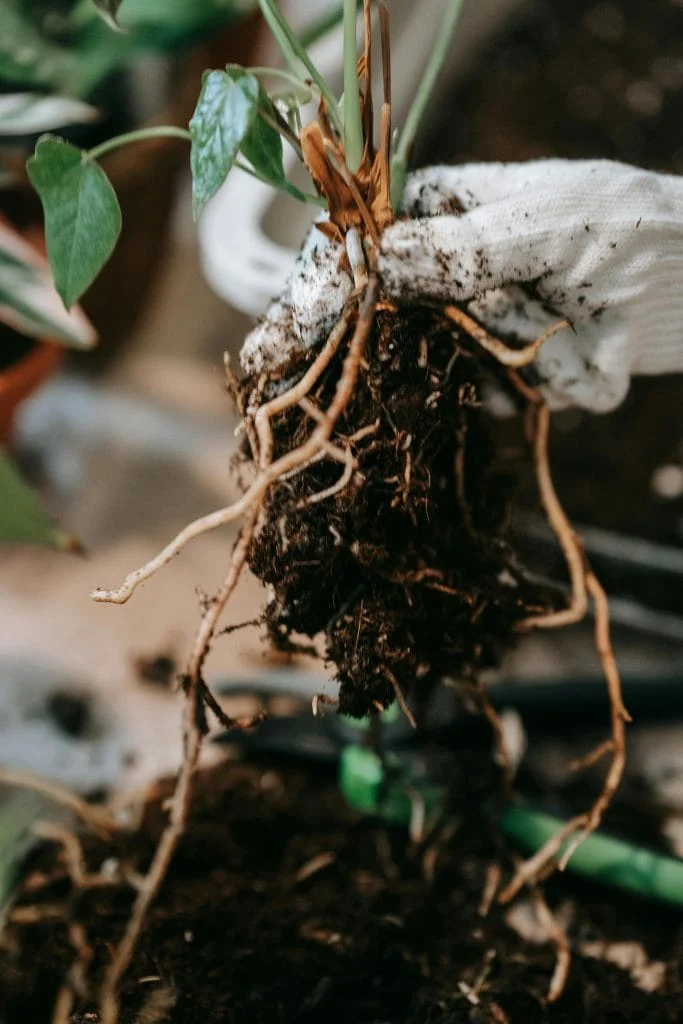
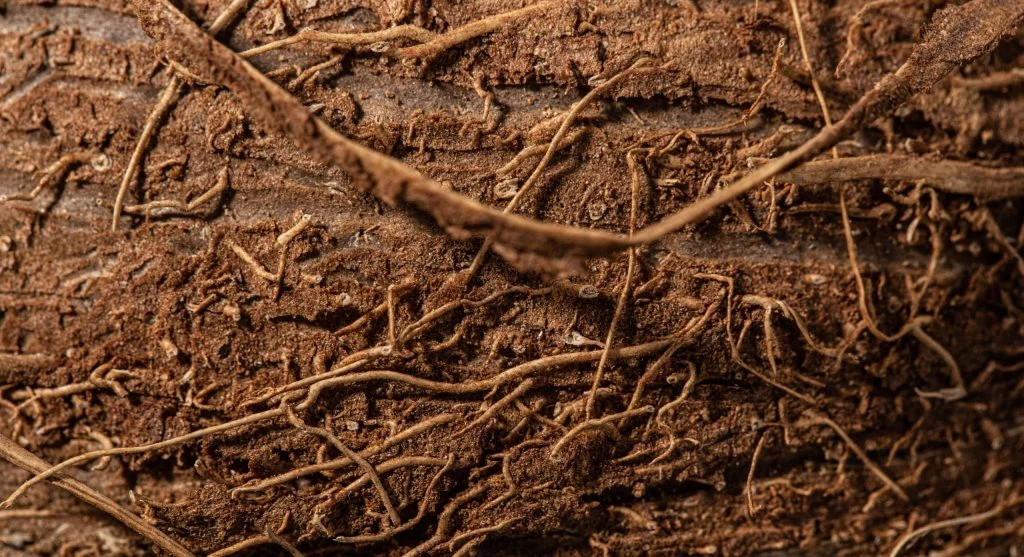
Remove the plant from its pot and gently rinse away all old potting mix from the root ball under lukewarm running water. This makes it much easier to see how much damage has actually occurred. Healthy roots are white or cream-colored, feel firm when lightly squeezed, and usually have a normal earthy smell. Rotted roots are brown or black, soft, mushy, or slimy, and often give off a foul decaying odor. Compare the amount of healthy root tissue with the damaged root mass. If more than 50 percent of the roots are still white and firm, the plant has a good chance of recovery. If the entire root system is brown and mushy with no white roots remaining, the plant is unlikely to survive no matter what is done, although stem cuttings may still be taken and rooted to preserve the plant’s genetics.
Step 2: Remove All Damaged Roots
Using clean, sharp scissors or pruning shears, cut away every brown, mushy, or slimy root. Sterilize the blades with rubbing alcohol between cuts to help avoid spreading fungal spores. Make each cut slightly into healthy tissue beyond the visible rot so all infected material is removed. It is safer to remove a little too much than to leave behind rotted tissue that can continue infecting the remaining healthy roots. After trimming, the root system may be much smaller than before, sometimes only 20 to 30 percent of its original size. That is acceptable. During recovery, the plant will need to be cared for in a way that matches its reduced root capacity.
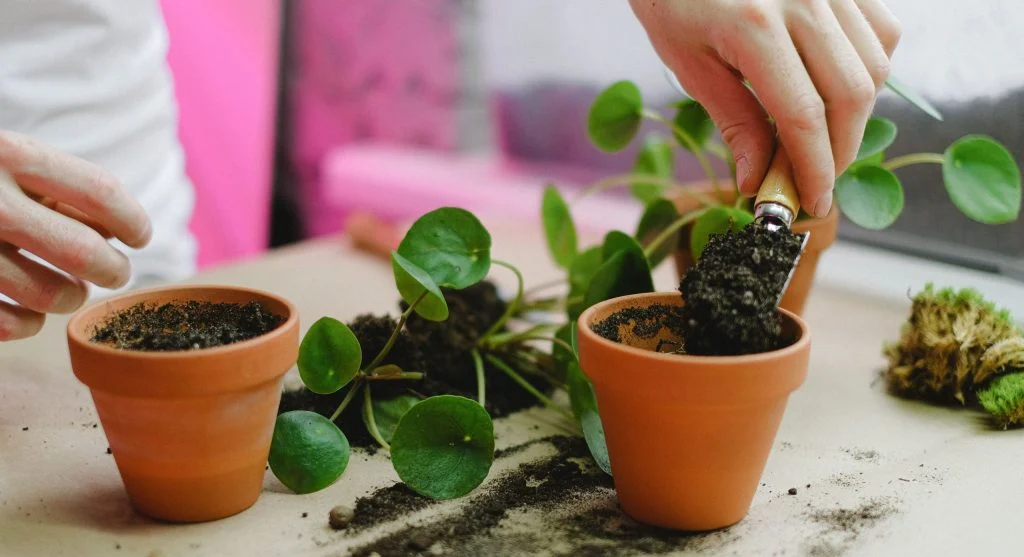
Step 3: Treat and Repot
After trimming, the remaining healthy roots can be dipped, if desired, in a diluted hydrogen peroxide solution made from one part 3 percent hydrogen peroxide and two parts water. Soak the roots for 10 to 15 minutes to help kill any fungal spores still present on the surface. Then let the roots air dry for 30 to 60 minutes in a well-ventilated area. This short drying period helps reduce the chance of immediate re-infection. Repot the plant into a clean container, either a new pot or the original pot thoroughly scrubbed with a diluted bleach solution and rinsed well. Use fresh, sterile, well-draining potting mix. The new pot should match the size of the remaining root system. If the root mass has been reduced to one-third of its original volume, moving the plant into a smaller pot prevents excess soil from holding moisture that the weakened roots cannot absorb.
Step 4: Recovery Care
Place the repotted plant in bright indirect light, not direct sun. A plant with a reduced root system cannot replace lost water quickly enough, so direct sunlight can add unnecessary stress. Water sparingly for the first two to three weeks. Because the plant now has only a fraction of its former water-absorbing capacity, the usual watering routine will likely provide much more moisture than it can use. Check the soil with a finger test before every watering, and water only when the soil is dry at least one inch below the surface. Do not fertilize for at least six weeks, since damaged and newly growing roots are very sensitive to fertilizer salt burn. Some leaf drop during recovery is normal. The plant is shedding foliage it can no longer support with its smaller root system. New leaf growth appearing after two to four weeks is a strong sign that the roots are regenerating and the rescue has worked.