Microgreens, tiny seedlings harvested at the first or second true-leaf stage just 7 to 14 days after sowing, are among the most nutrient-dense foods available and one of the fastest crops a home grower can produce. Research published in the Journal of Agricultural and Food Chemistry found that microgreens from many common vegetables contain 4 to 40 times the nutrient concentration of their mature versions. A two-dollar packet of seeds can produce multiple trays of microgreens that might cost 15 to 25 dollars at a farmers’ market or specialty grocery store. The whole growing process requires no garden space, no special equipment, and no gardening experience, just a shallow tray, some soil or growing medium, seeds, water, and about a week of patience.
What to Grow: The Best Beginner Microgreens
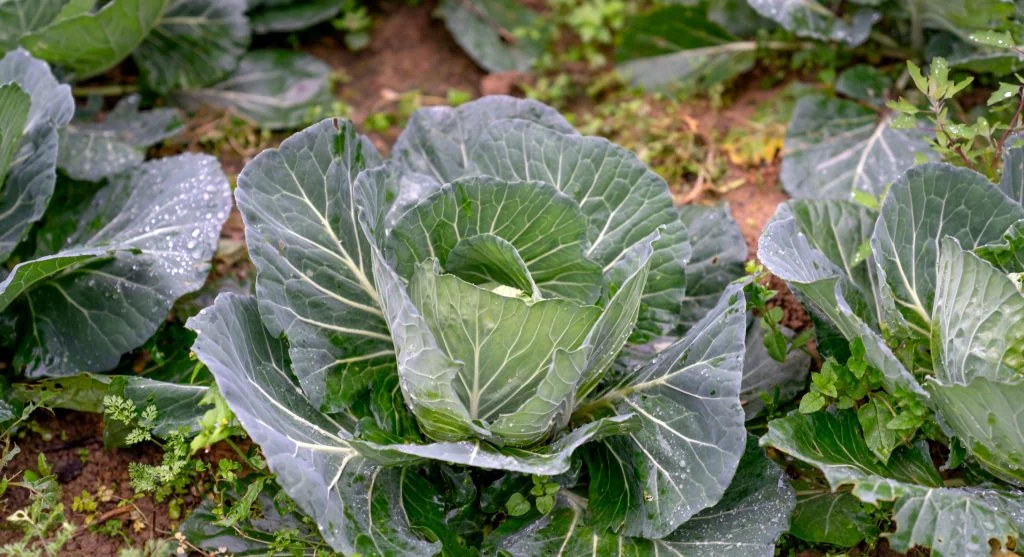
Almost any vegetable, herb, or grain seed can be grown as a microgreen, but some species are consistently recommended for beginners because they germinate quickly, grow strongly, and deliver good flavor with very little fuss. Sunflower, pea shoots, radish, broccoli, arugula, mustard, and basil are among the most popular microgreen crops for home growers.
Sunflower and pea shoot microgreens produce the most substantial, satisfying harvest, with thick stems and larger leaves. Radish and mustard offer more intense flavor in a smaller package. Seeds sold specifically as “microgreen seeds” are usually untreated, high-germination versions of standard garden seeds. Buying regular untreated garden seeds from a seed company can work just as well and often costs less.
The Growing Process: Seed to Harvest in 7 to 14 Days
Fill a shallow tray, such as a standard 10-by-20-inch plant tray, a takeout container, or even a baking pan, with one inch of moistened potting mix or coconut coir. Spread the seeds densely across the surface. Microgreens are planted much more thickly than garden vegetables because they are harvested before the seedlings need room to mature. Press the seeds gently into the surface and cover the tray with another tray or a sheet of dark material, such as newspaper or a towel, to block light during germination. Mist with water once or twice daily to keep the seeds and growing medium moist.
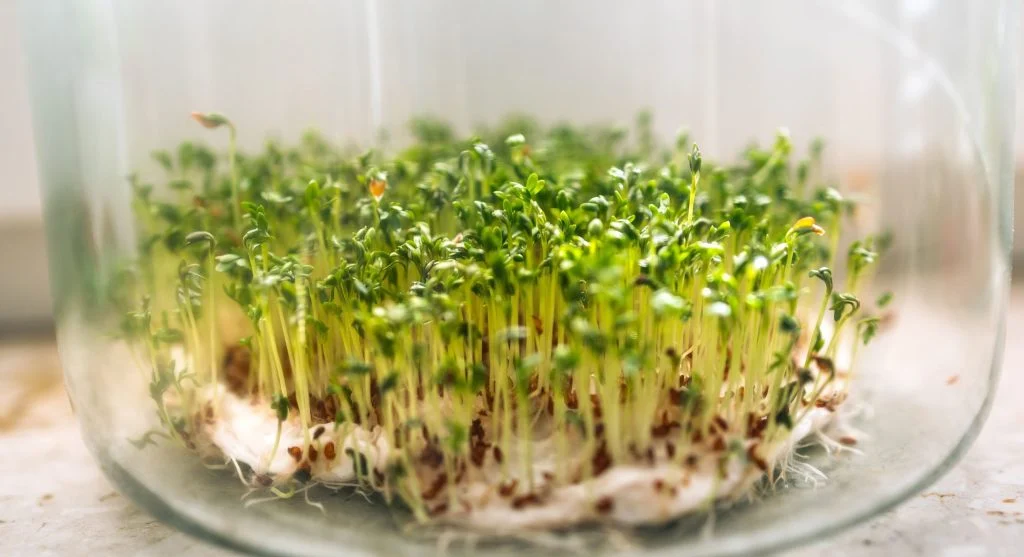
After two to three days, when the seeds have germinated and small yellow sprouts are visible, remove the cover and move the tray to a bright location, such as a sunny windowsill or under a basic grow light. The sprouts will turn green within 24 hours of light exposure. Continue misting or bottom-watering daily.
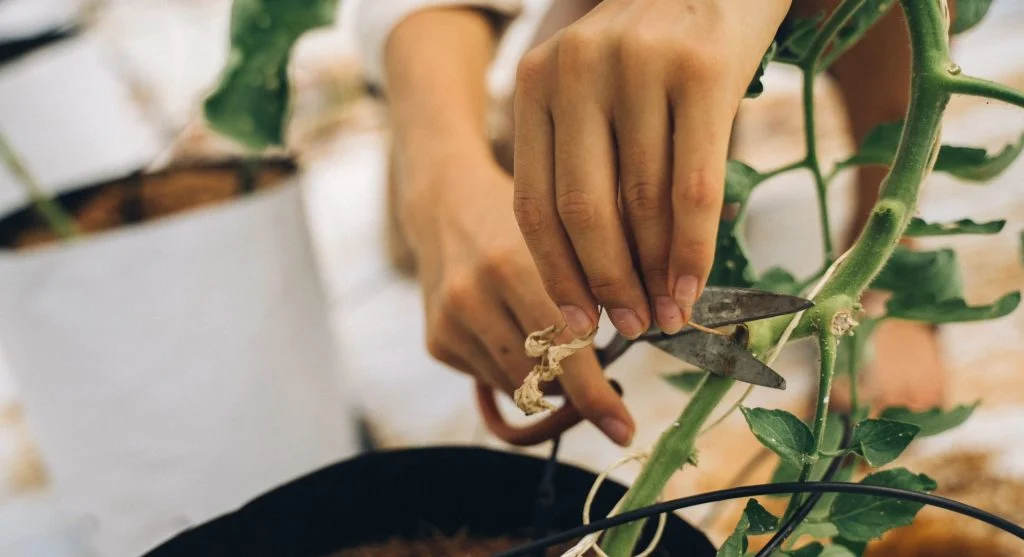
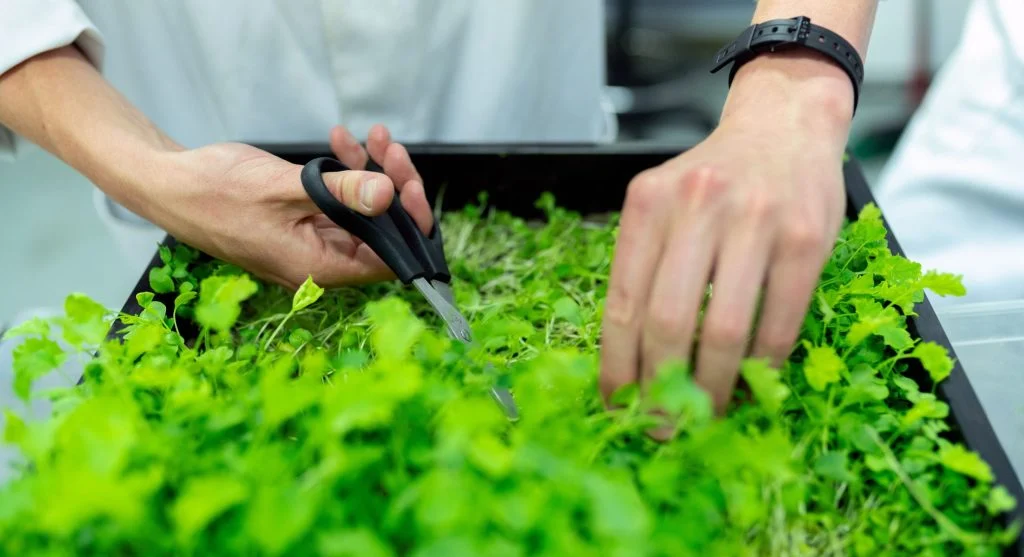
Most microgreen varieties reach harvestable height, usually one to three inches, with the cotyledon leaves fully opened and often the first true leaves just beginning to emerge, within 7 to 14 days from sowing. Harvest by cutting the stems at soil level with clean scissors. The harvested microgreens should be eaten fresh within three to five days for best quality. They do not store well long-term, but they can be refrigerated in a sealed container lined with a dry paper towel.
No Soil? No Problem
Microgreens can also be grown on damp paper towels, burlap fabric, or hemp growing mats placed in a shallow tray, which removes the need for potting mix completely. This soil-free method usually produces slightly smaller yields, but it is cleaner, requires no soil disposal, and works well for countertop growing in kitchens where soil may feel inconvenient.
The paper towel or mat should be kept consistently moist, but not waterlogged, throughout the growing period. The microgreens are harvested the same way, by cutting at the base once they reach the desired height.